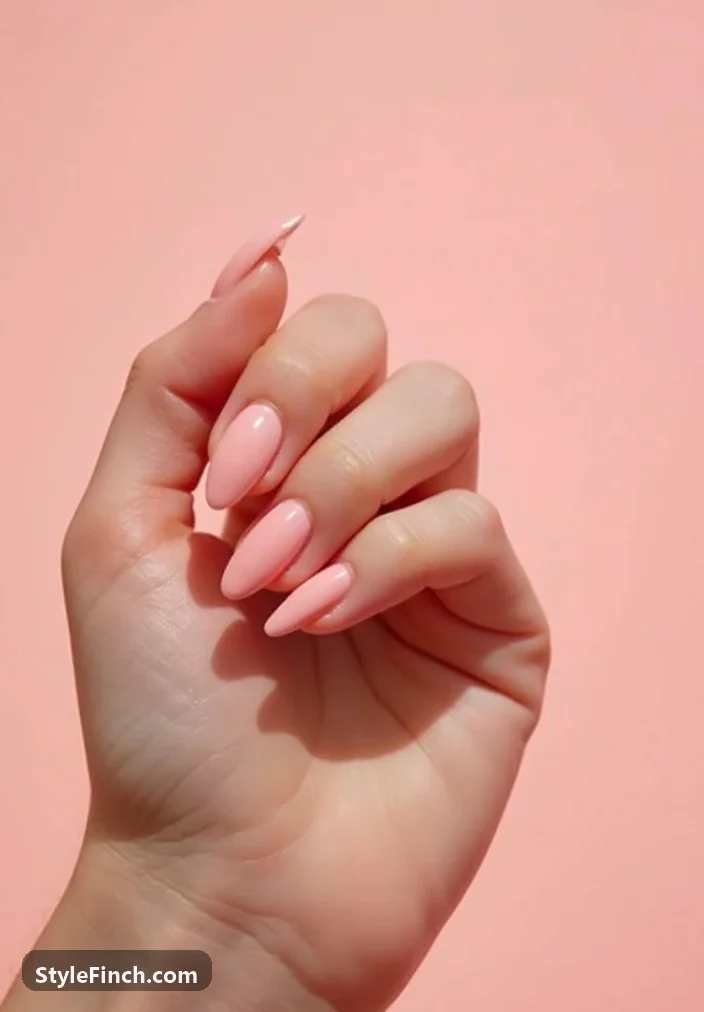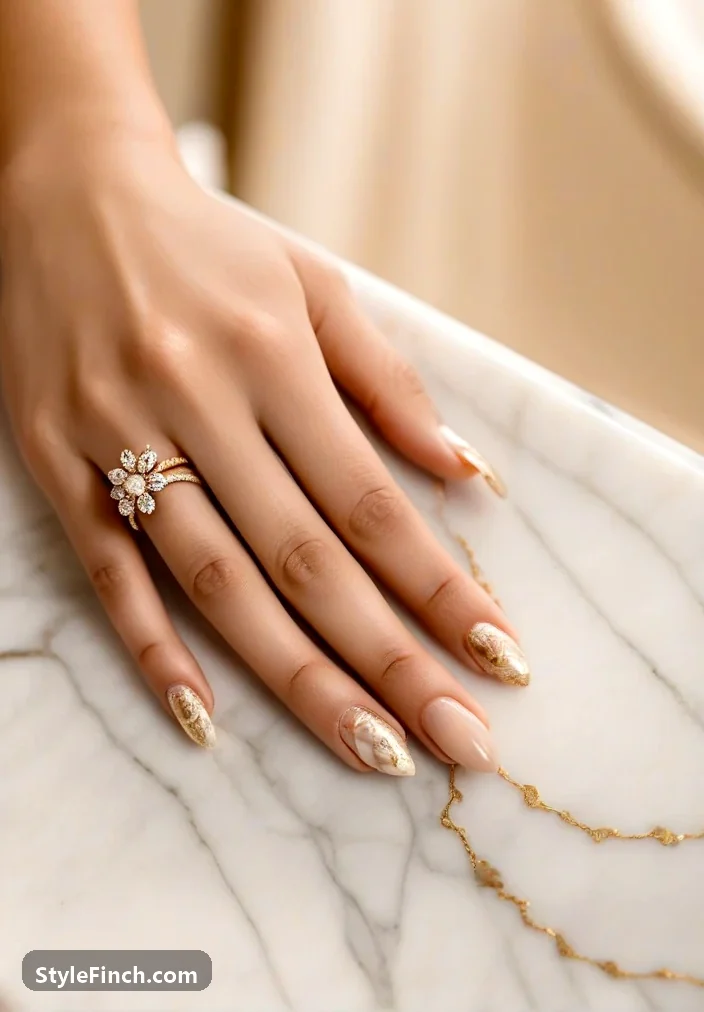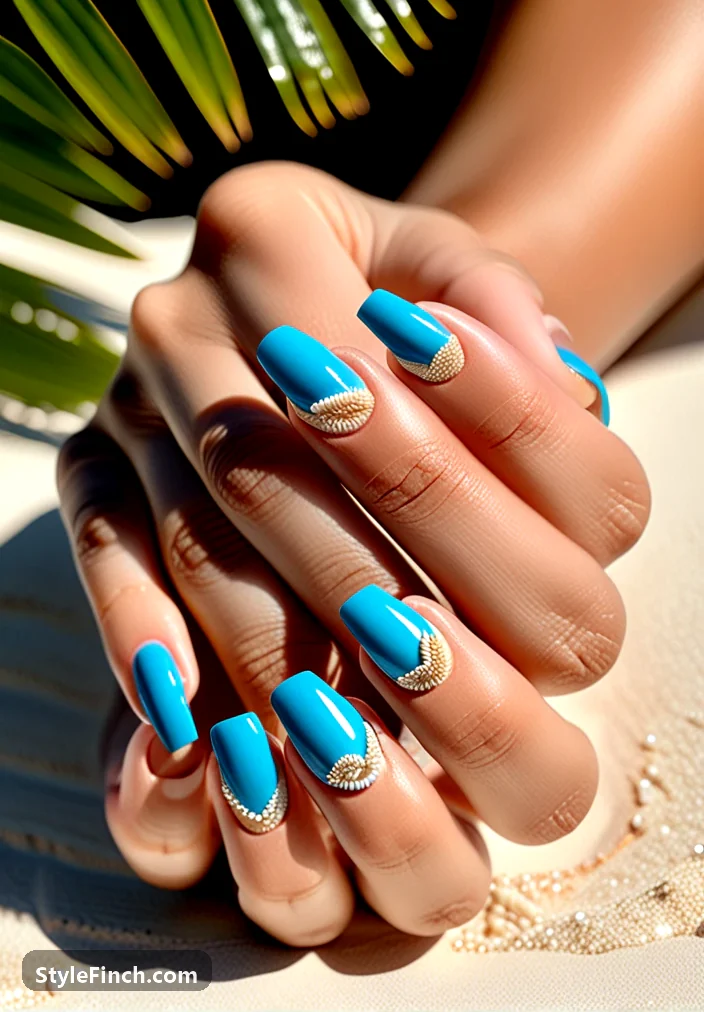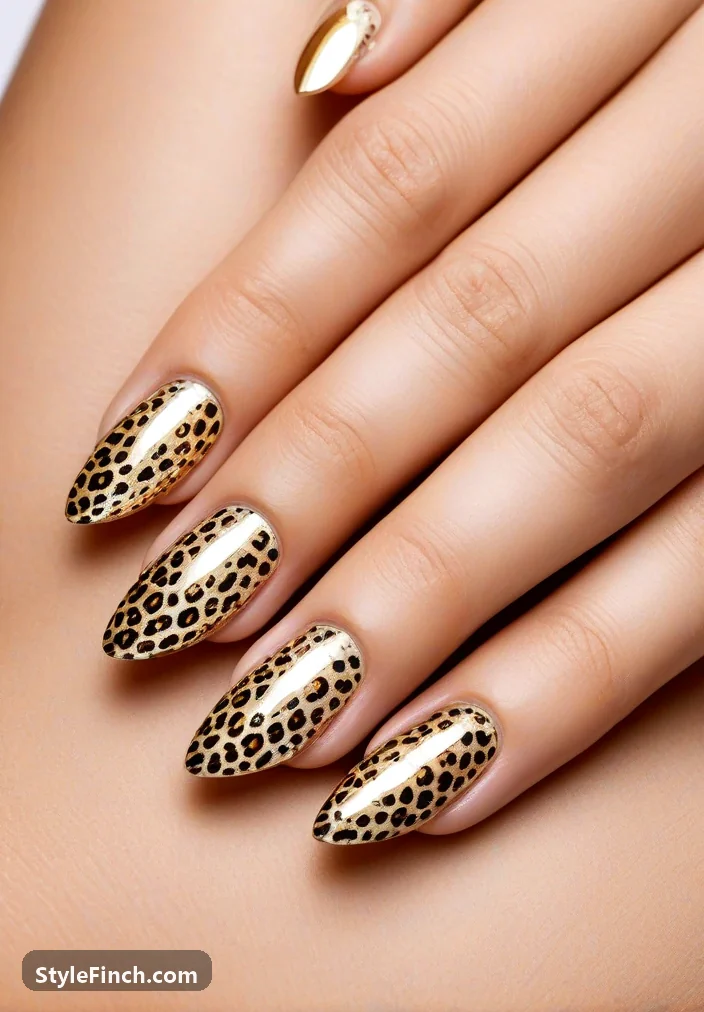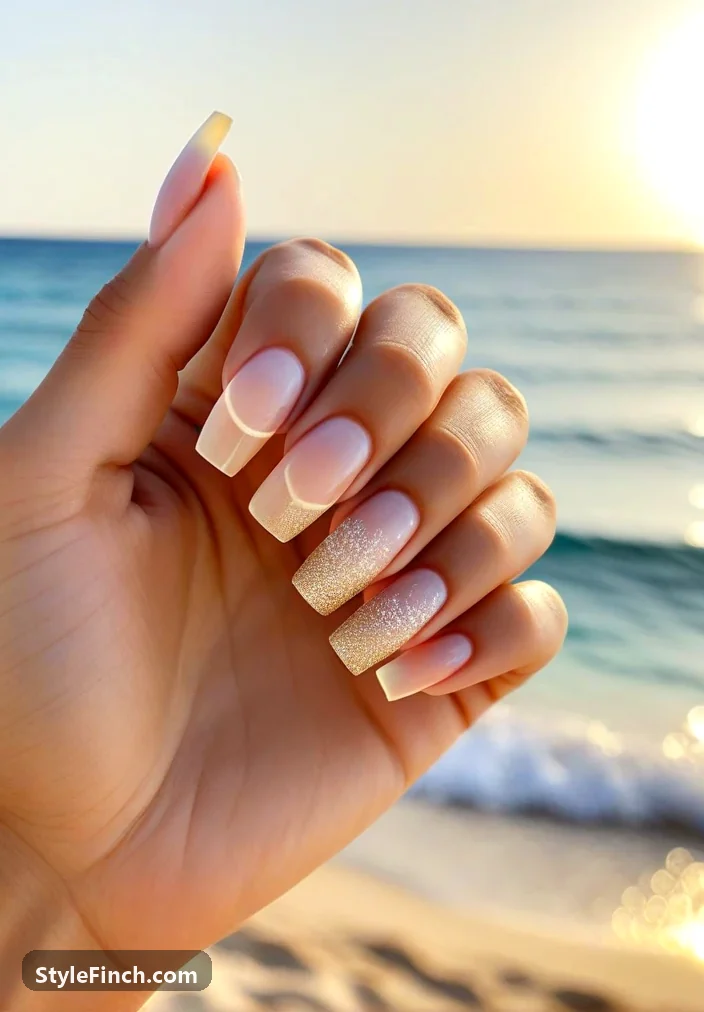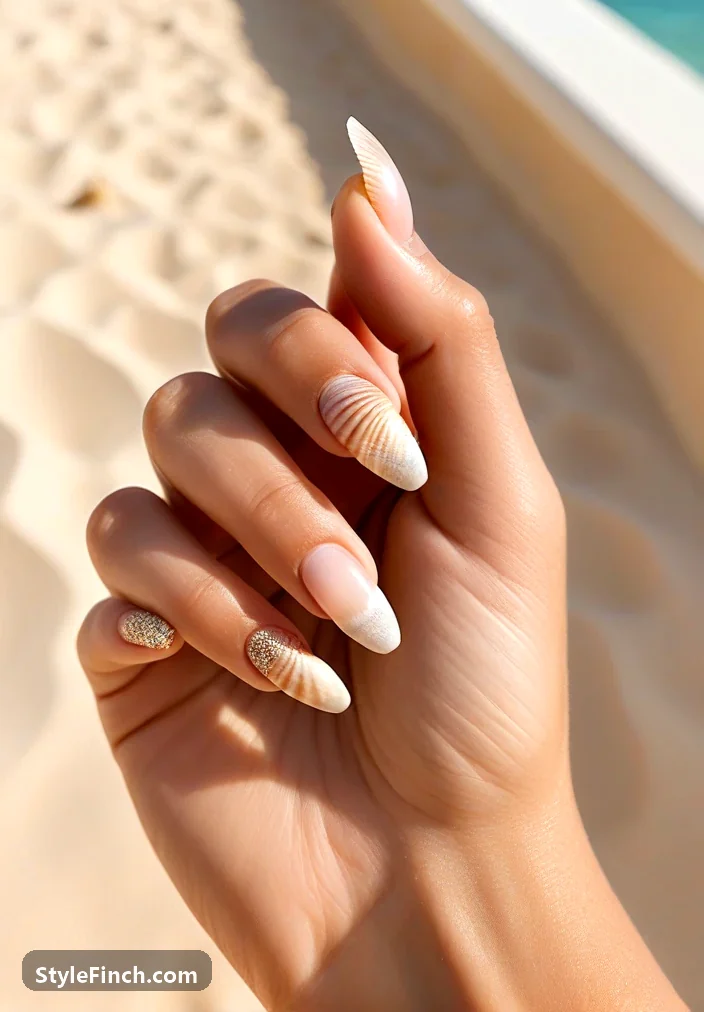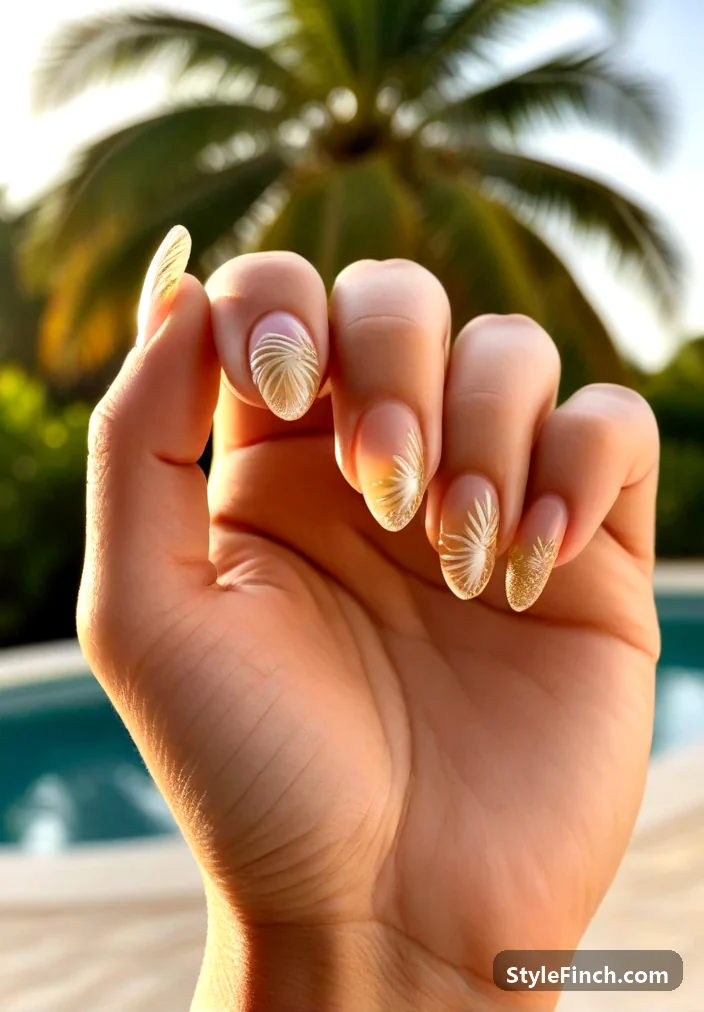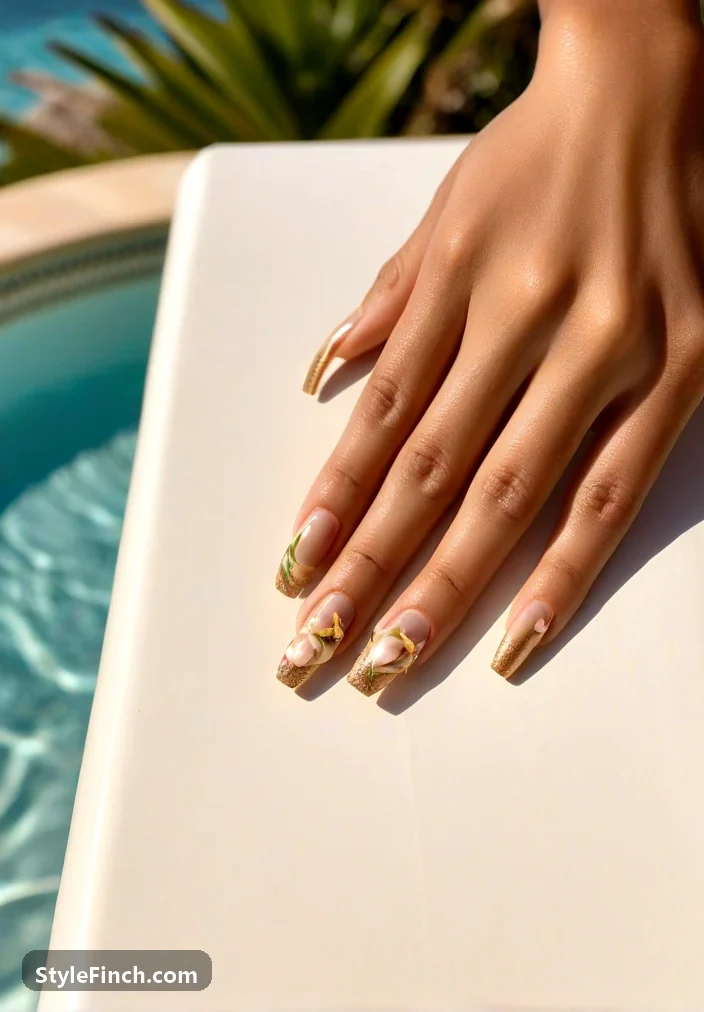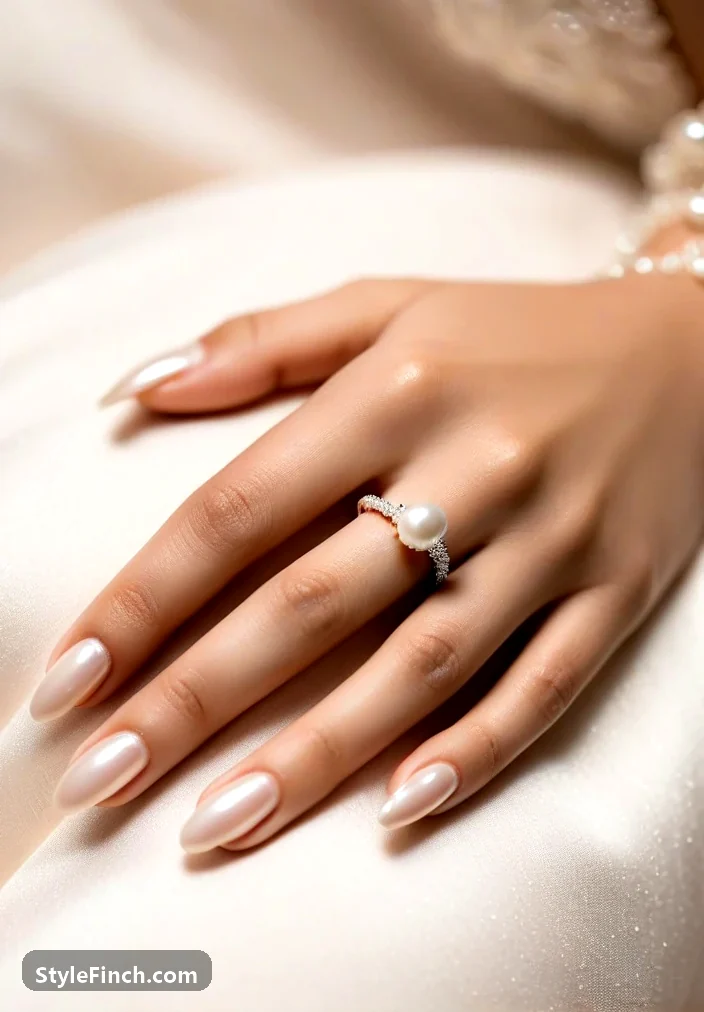
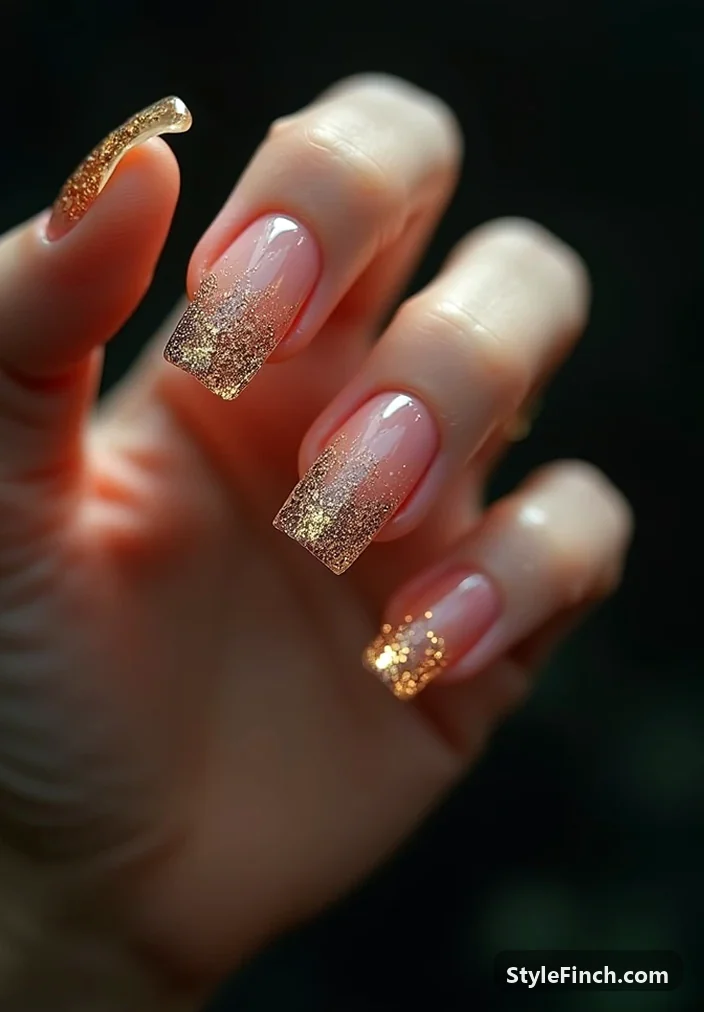
There’s something undeniably captivating about glitter ombre nails, especially when they are elegantly styled with a shimmering gold finish at the tips. This particular look exudes a sense of glamour that perfectly balances modern sophistication with a dash of fun. The nude base allows the sparkly gold to shine vibrantly, making these nails suitable for any occasion, from a casual brunch to a glamorous evening out. Let’s dive deeper into why this design is a must-try and how you can recreate this stunning effect.
Why This Look Works
The allure of glitter ombre nails lies in their thoughtful design elements. The nude base color creates a soft, understated canvas that highlights the glitter’s brilliance. The ombre effect transitions from the nude to a dazzling gold at the tips, adding depth and dimension. This gradient style not only elongates the appearance of the nails but also introduces a playful yet chic aesthetic. The gold glitter elevates the overall look, making these nails perfect for special occasions or simply to add a touch of glam to your everyday style.
Key Elements of Glitter Ombre Nails
- Shape and Length: Opt for a classic almond or stiletto shape to enhance the elegance of the ombre effect. A medium length works well to maintain wearability while still showcasing the design.
- Color Palette: The combination of nude and gold is timeless, but feel free to experiment with other shades such as soft pinks or deep burgundies paired with silver for an equally stunning effect.
- Finish: A high-shine top coat not only protects your nails but also accentuates the glitter’s sparkle, giving it that salon-fresh look.
- Application Technique: The ombre effect can be achieved using a sponge or a brush for blending, allowing for a seamless transition between colors.
How to Recreate This Look
Ready to try your hand at glitter ombre nails? Follow these steps for a polished finish:
- Start with clean, shaped nails. Apply a base coat to protect your natural nails.
- Paint your nails with a nude polish and allow it to dry completely.
- Using a small makeup sponge, dab the gold glitter polish onto the tips of your nails, blending it downwards to create the ombre effect.
- Seal the design with a glossy top coat for added shine and longevity.
- For extra flair, consider adding small gems or sequins near the cuticle for a touch of sparkle.
Variations on the Glitter Ombre Look
While the classic nude and gold combination is stunning, there are countless variations to explore:
- Seasonal Colors: For fall, try a deep burgundy with copper glitter. In spring, consider a soft pink with silver accents.
- Matte vs. Glossy: Experiment with a matte nude base paired with glossy glitter tips for a modern twist.
- Accent Nails: Choose one or two accent nails on each hand to apply a full glitter coat while keeping the rest in a nude ombre for a balanced look.
- Texture Play: Incorporate textured finishes, such as a matte top coat over the nude base, to add depth to your manicure.
Glitter ombre nails are the perfect way to express your personal style while adding a hint of sophistication. With their versatile nature, they can effortlessly transition from day to night, making them a chic choice for any occasion. Whether you’re heading to a wedding or simply want to elevate your everyday look, this nail design is sure to turn heads. Keep experimenting with colors and finishes until you find your perfect combination, and enjoy the glamour that comes with every sparkle!